I’m now starting to use Rackspace after a having a lot of experience with Amazon AWS and so I’m having a hard time understanding a few things about the way Rackspace works. One of these things is “Disaster Recovery” for a Rackspace “Cloud Server’s” primary drive primary drive.
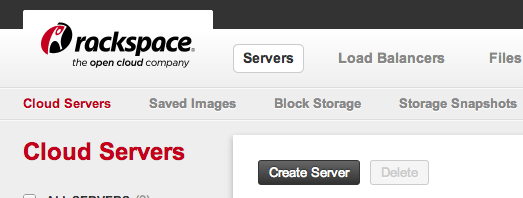
There is a lot of server terminology with Rackspace so for clarification I’m talking about the ones in the [Cloud Servers control panel](http://mycloud.rackspace/) that are in this tab:
So my point of confusion is this: If I screw up something big on AWS, like the `/etc/fstab` file and the server won’t boot, I can use the AWS control panel to get the console log:
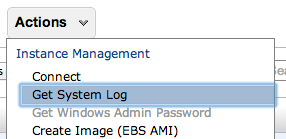
If I need to edit things on the primary drive I can “detatch” it from the instance and attach it to another server, and then access the files on it.
I searched the Rackspace knowledge base and also read the [Disaster Recovery blog post](http://www.rackspace.com/blog/disaster-recovery-in-the-cloud/) which mentions three ways of doing disaster recovery with Rackspace:
1. Take regular snapshots and restore the instance from one of those
1. Do manual file system and database backups to have a copy of your data NOT on the primary drive
1. Replication with Manual Failover (seems like overkill)
I also saw that it is possible to boot the server into “recovery mode” but I haven’t tried it yet.
The way I’m planning on running my rackspace server is attaching another drive (aka Storage Volume) and putting all the application data on that. I am also planning on doing regular “saved images” of the server. **But if the server won’t boot up and won’t start in safe-mode, is there no way to accesset the data stored on the primary drive?**
Best Answer I Could Find was from [server fault](http://serverfault.com/questions/406582/what-are-my-options-with-a-downloaded-rackspace-cloud-image) and it said to:
1. Download the emergency recovery files which are tar.gz files in 5GB chunks
2. `cat` them together into a single `.tar.gz` file.
3. `tar -xf` to extract the file (requires approximately 2x the size of the image of free space – 20GB drive needs 40-50GB of free space to uncompress)
4. get your files from this unzipped folder.
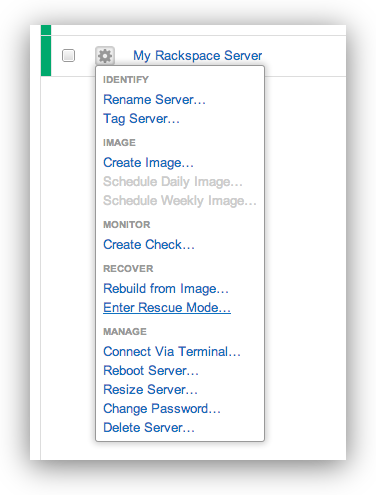
When I tried to figure this out for myself I found something a bit different – one of the options for the server is “Enter Rescue Mode…” which you can do via the control panel:
###Right Click the Server and Choose Enter Rescue Mode
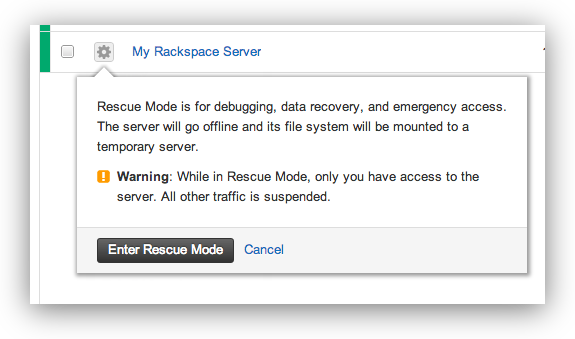
###A Dialog Box Will Warn You About Rackspace’s Rescue Mode
> Rescue Mode is for debugging, data recovery, and emergency access. The server will go offline and its file system will be mounted to a temporary server. Warning: While in Rescue Mode, only you have access to the server. All other traffic is suspended.
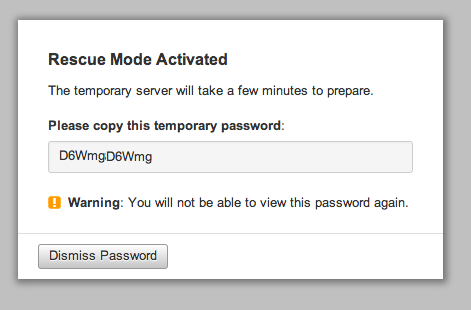
###You’ll get a Temporary Password for The Rescue Mode Server
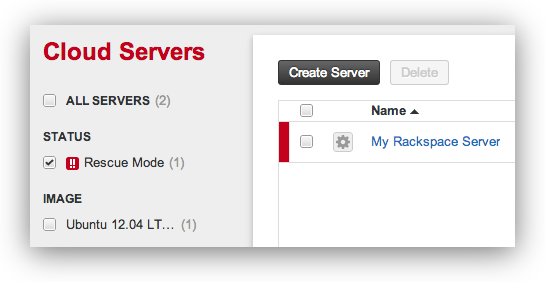
###The Rackspacer Server Control Panel will then show you it is in Emergency Mode
Now you can recover data, fix items, and hopefully restore your server.
Helpful linux commands for this:
See attached devices and info:
fdisk -l
Mount your old drive so you can access it (commands for Ubuntu 12)
mkdir /vol
mount /dev/xvdb1 /vol
Edit and adjust commands based on your system.

