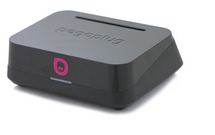
If you need to connect to the Lantronix Spider or SpiderDuo KVM-over-IP Devices via a serial connection, for example to change the configuration or reset the password, you need to use a serial console to do this.
I was using an Ubuntu machine with a standard `serial` / `com` port ( DB9/RS232 ) and had one of the $4 [RJ45 to DB9/RS232 cables](http://www.amazon.com/Generic-7-Cisco-Console-RJ45-to-DB9/dp/B000GL3MOY/?ie=UTF8&tag=ie-utf-20&qid=1422208990&sr=8-2&keywords=RJ45+to+DB9%2FRS232&pebp=1422208994453&peasin=B000GL3MOY)
To get connected I ended up installing `picocom` which I like better than using `screen` as it seems to be more forgiving if something goes wrong and not lock up the system.
Then I used the command `picocom -b 9600 /dev/ttyS0` to connect to the device and got prompt so I could reset the device:
Welcome!
Choose a command for the following features:
-Initial IP configuration: “config”.
-Reset device: “reset”.
[(none) spider]>
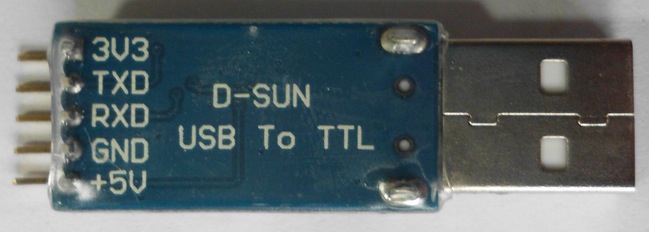
If you don’t have a RS232 you can also use a ~ $10 [USB to RS-232 DB9 Serial Converter](http://www.amazon.com/TRENDnet-USB-RS-232-Serial-Converter/dp/B0007T27H8/?&ie=UTF8&qid=&tag=ie-utf-20&sr=&keywords=) in order to get a serial port.
The device will show up in `/dev/` as something like `/dev/ttyUSB0` which will change your picocom command to be:
picocom -b 9600 /dev/ttyS0
To exit `picocom` use `control+a, control+x`.
To install `picocom` on Ubuntu / Debian linux systems use `apt-get install -y picocom`
A few notes from the [Lantronix page](http://ltxfaq.custhelp.com/app/answers/detail/a_id/1584/~/setting-a-spider-to-factory-defaults-from-the-serial-console-port):
### How do I perform the reset?
See details on the [lantronix page](http://ltxfaq.custhelp.com/app/answers/detail/a_id/1688/~/reset-a-spider-to-factory-defaults-using-the-serial-console-port-and-the-reset) – you will need to use the reset button on the back of the device in combination with a terminal connection described above.
### What is the default password?
Try logging in with the default username, `sysadmin`, and password, `PASS`
If that does not work, please use the procedure near the top of page 121 of the [Spider User Guide](http://www.lantronix.com/pdf/Spiders_UG.pdf)
### I forgot my password. How can I reset the Spider to factory defaults?
Use the serial interface with a terminal emulator program set to 9600 or 115200, 8 bit characters, No parity, 1 Stop bit, and No flow control. Within 2 seconds of booting the Spider, press the Esc key a few times to get a => prompt. Type defaults at the => prompt.
If you can’t get the => prompt after several tries at 9600, try 115200. Earlier firmware sets the serial console port to 115200 by default.